About the Process
SELECTING THE MATERIALS
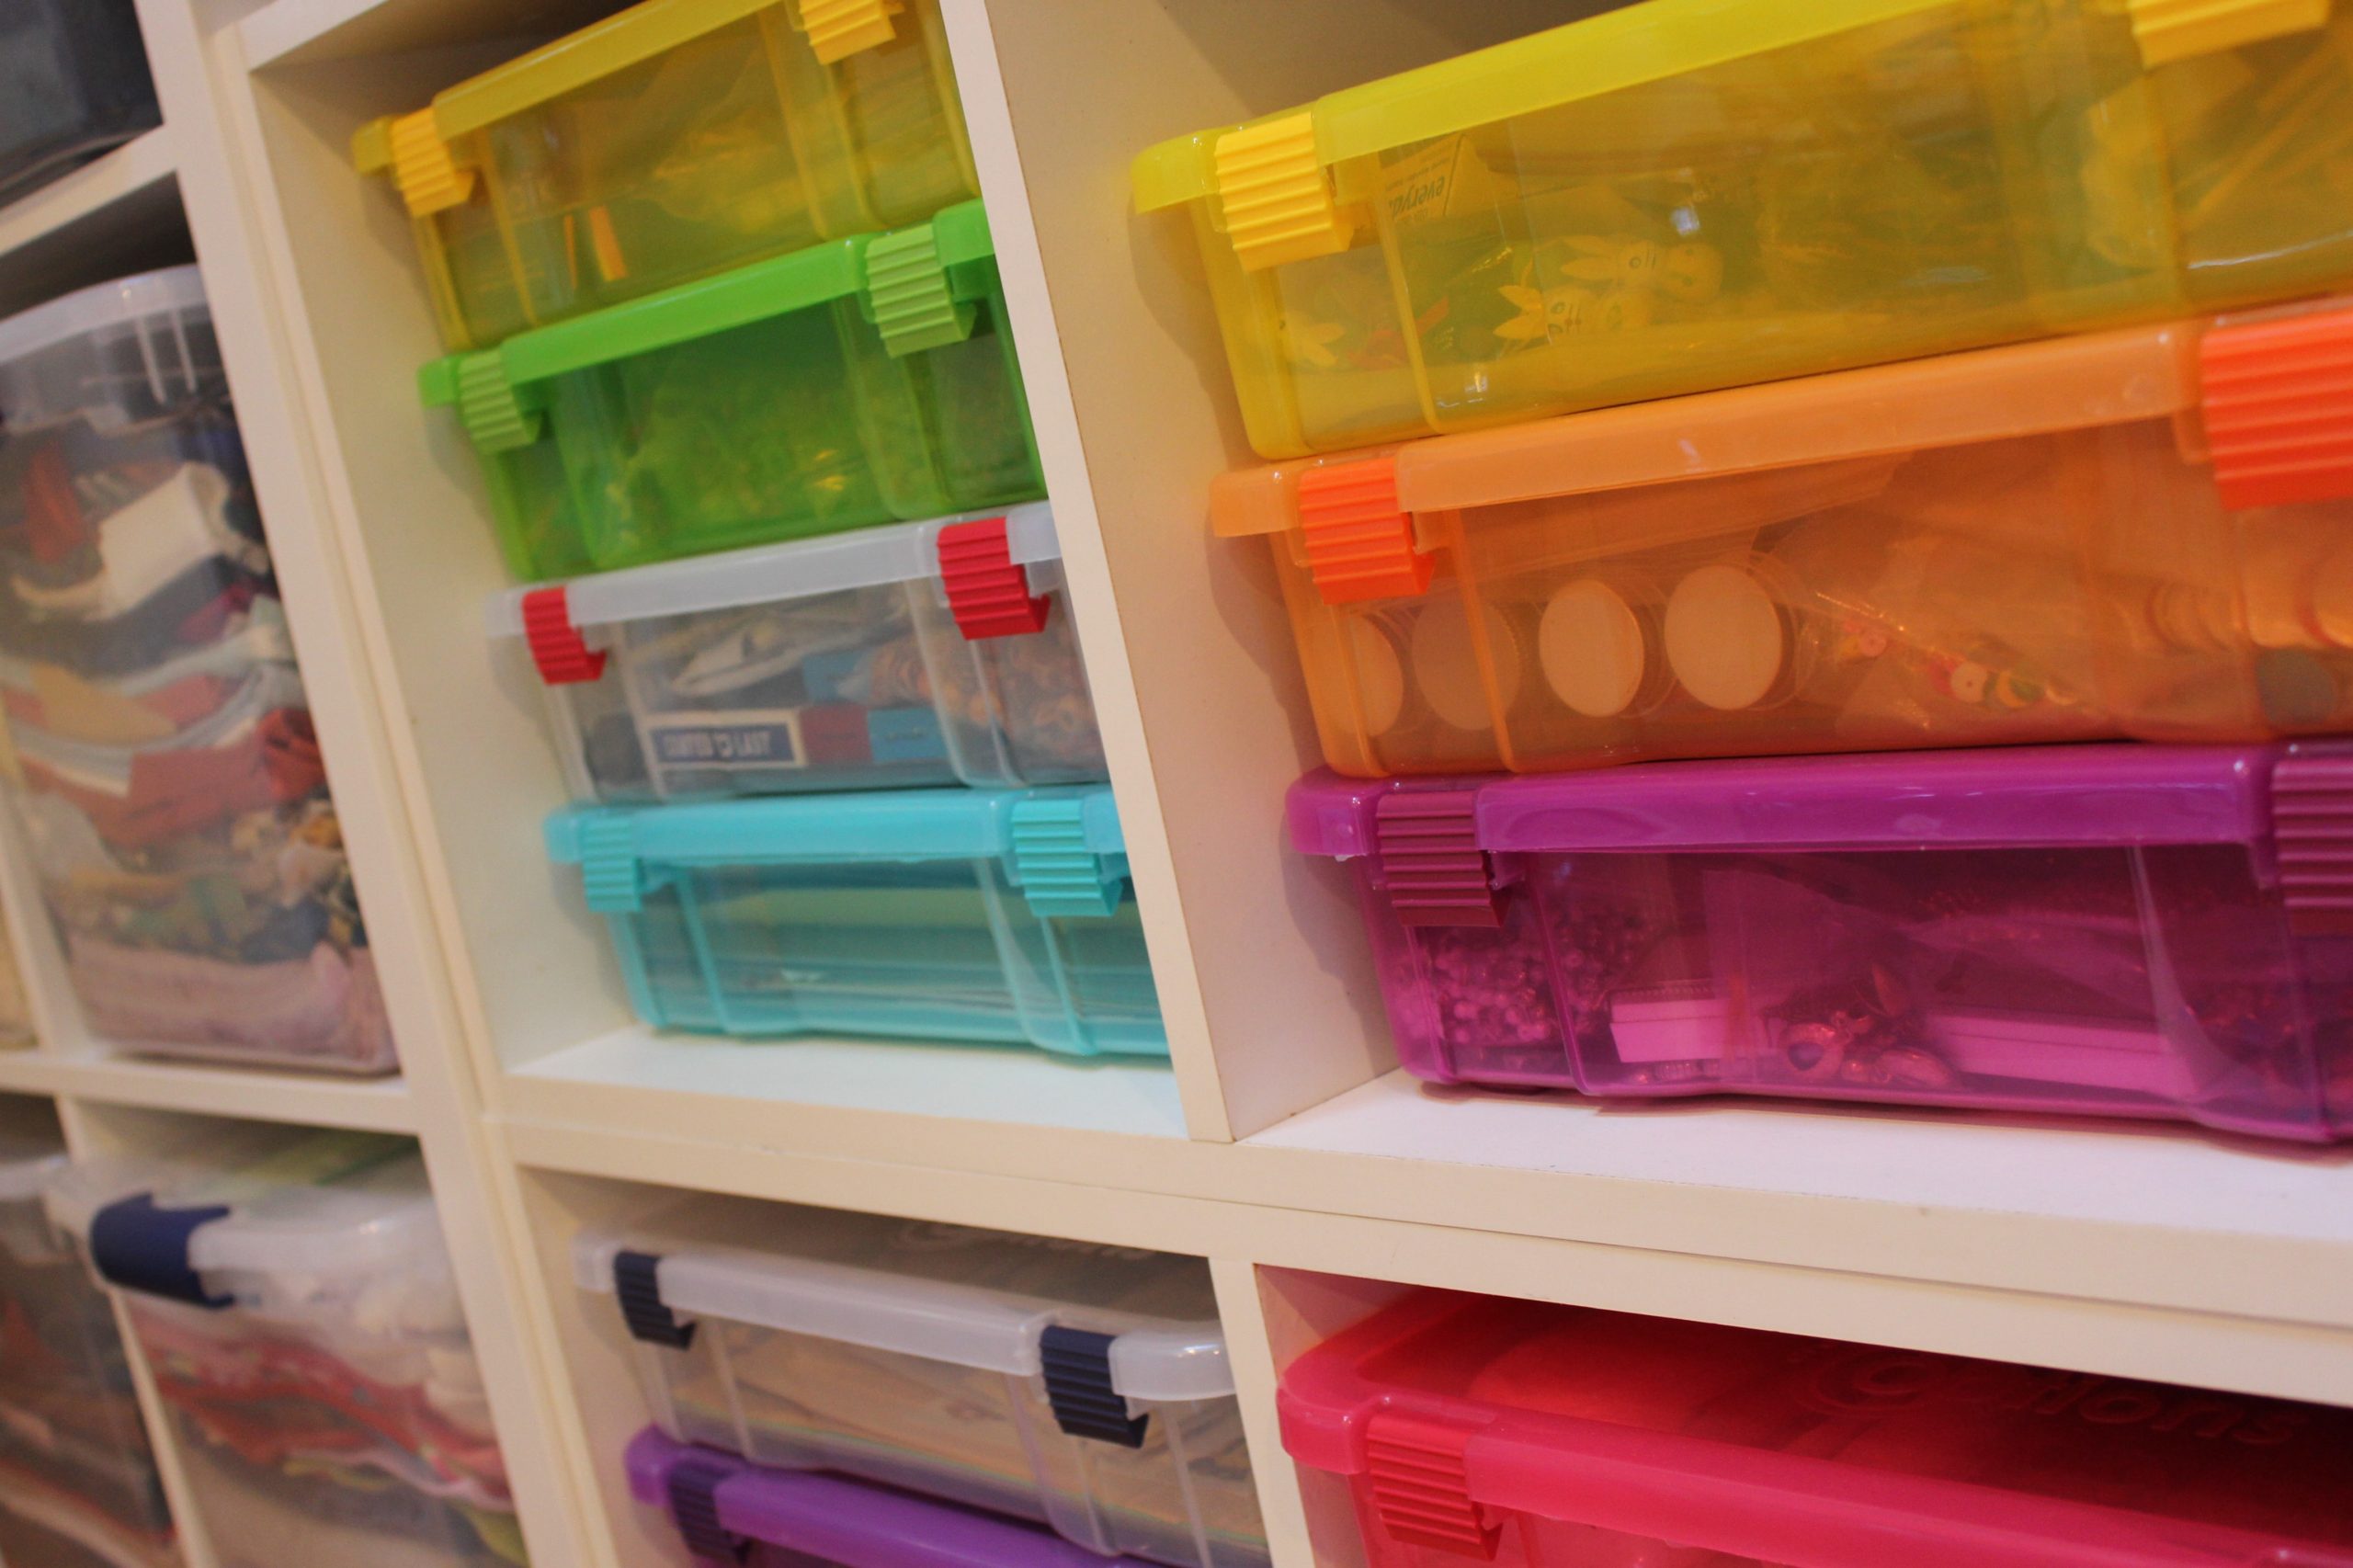
 make one-of-a-kind Christmas tree ornaments out of repurposed, recycled, and reclaimed materials. In general, materials include: cardboard, paper, fabric, faux fur, polyester stuffing, old toys, yarn, seeds, beads, wire, acrylic paint, leather, old jewelry, old wigs, toothpicks, wooden knobs, wooden spools, pieces from old electronics, wine corks, eggshells, spent ribbon spools, you name it. Each ornament design is inspired by a unique find at a garage sale or thrift store. The techniques I use for each ornament will vary given the materials I’m using.
RESEARCHING THE CHARACTERS
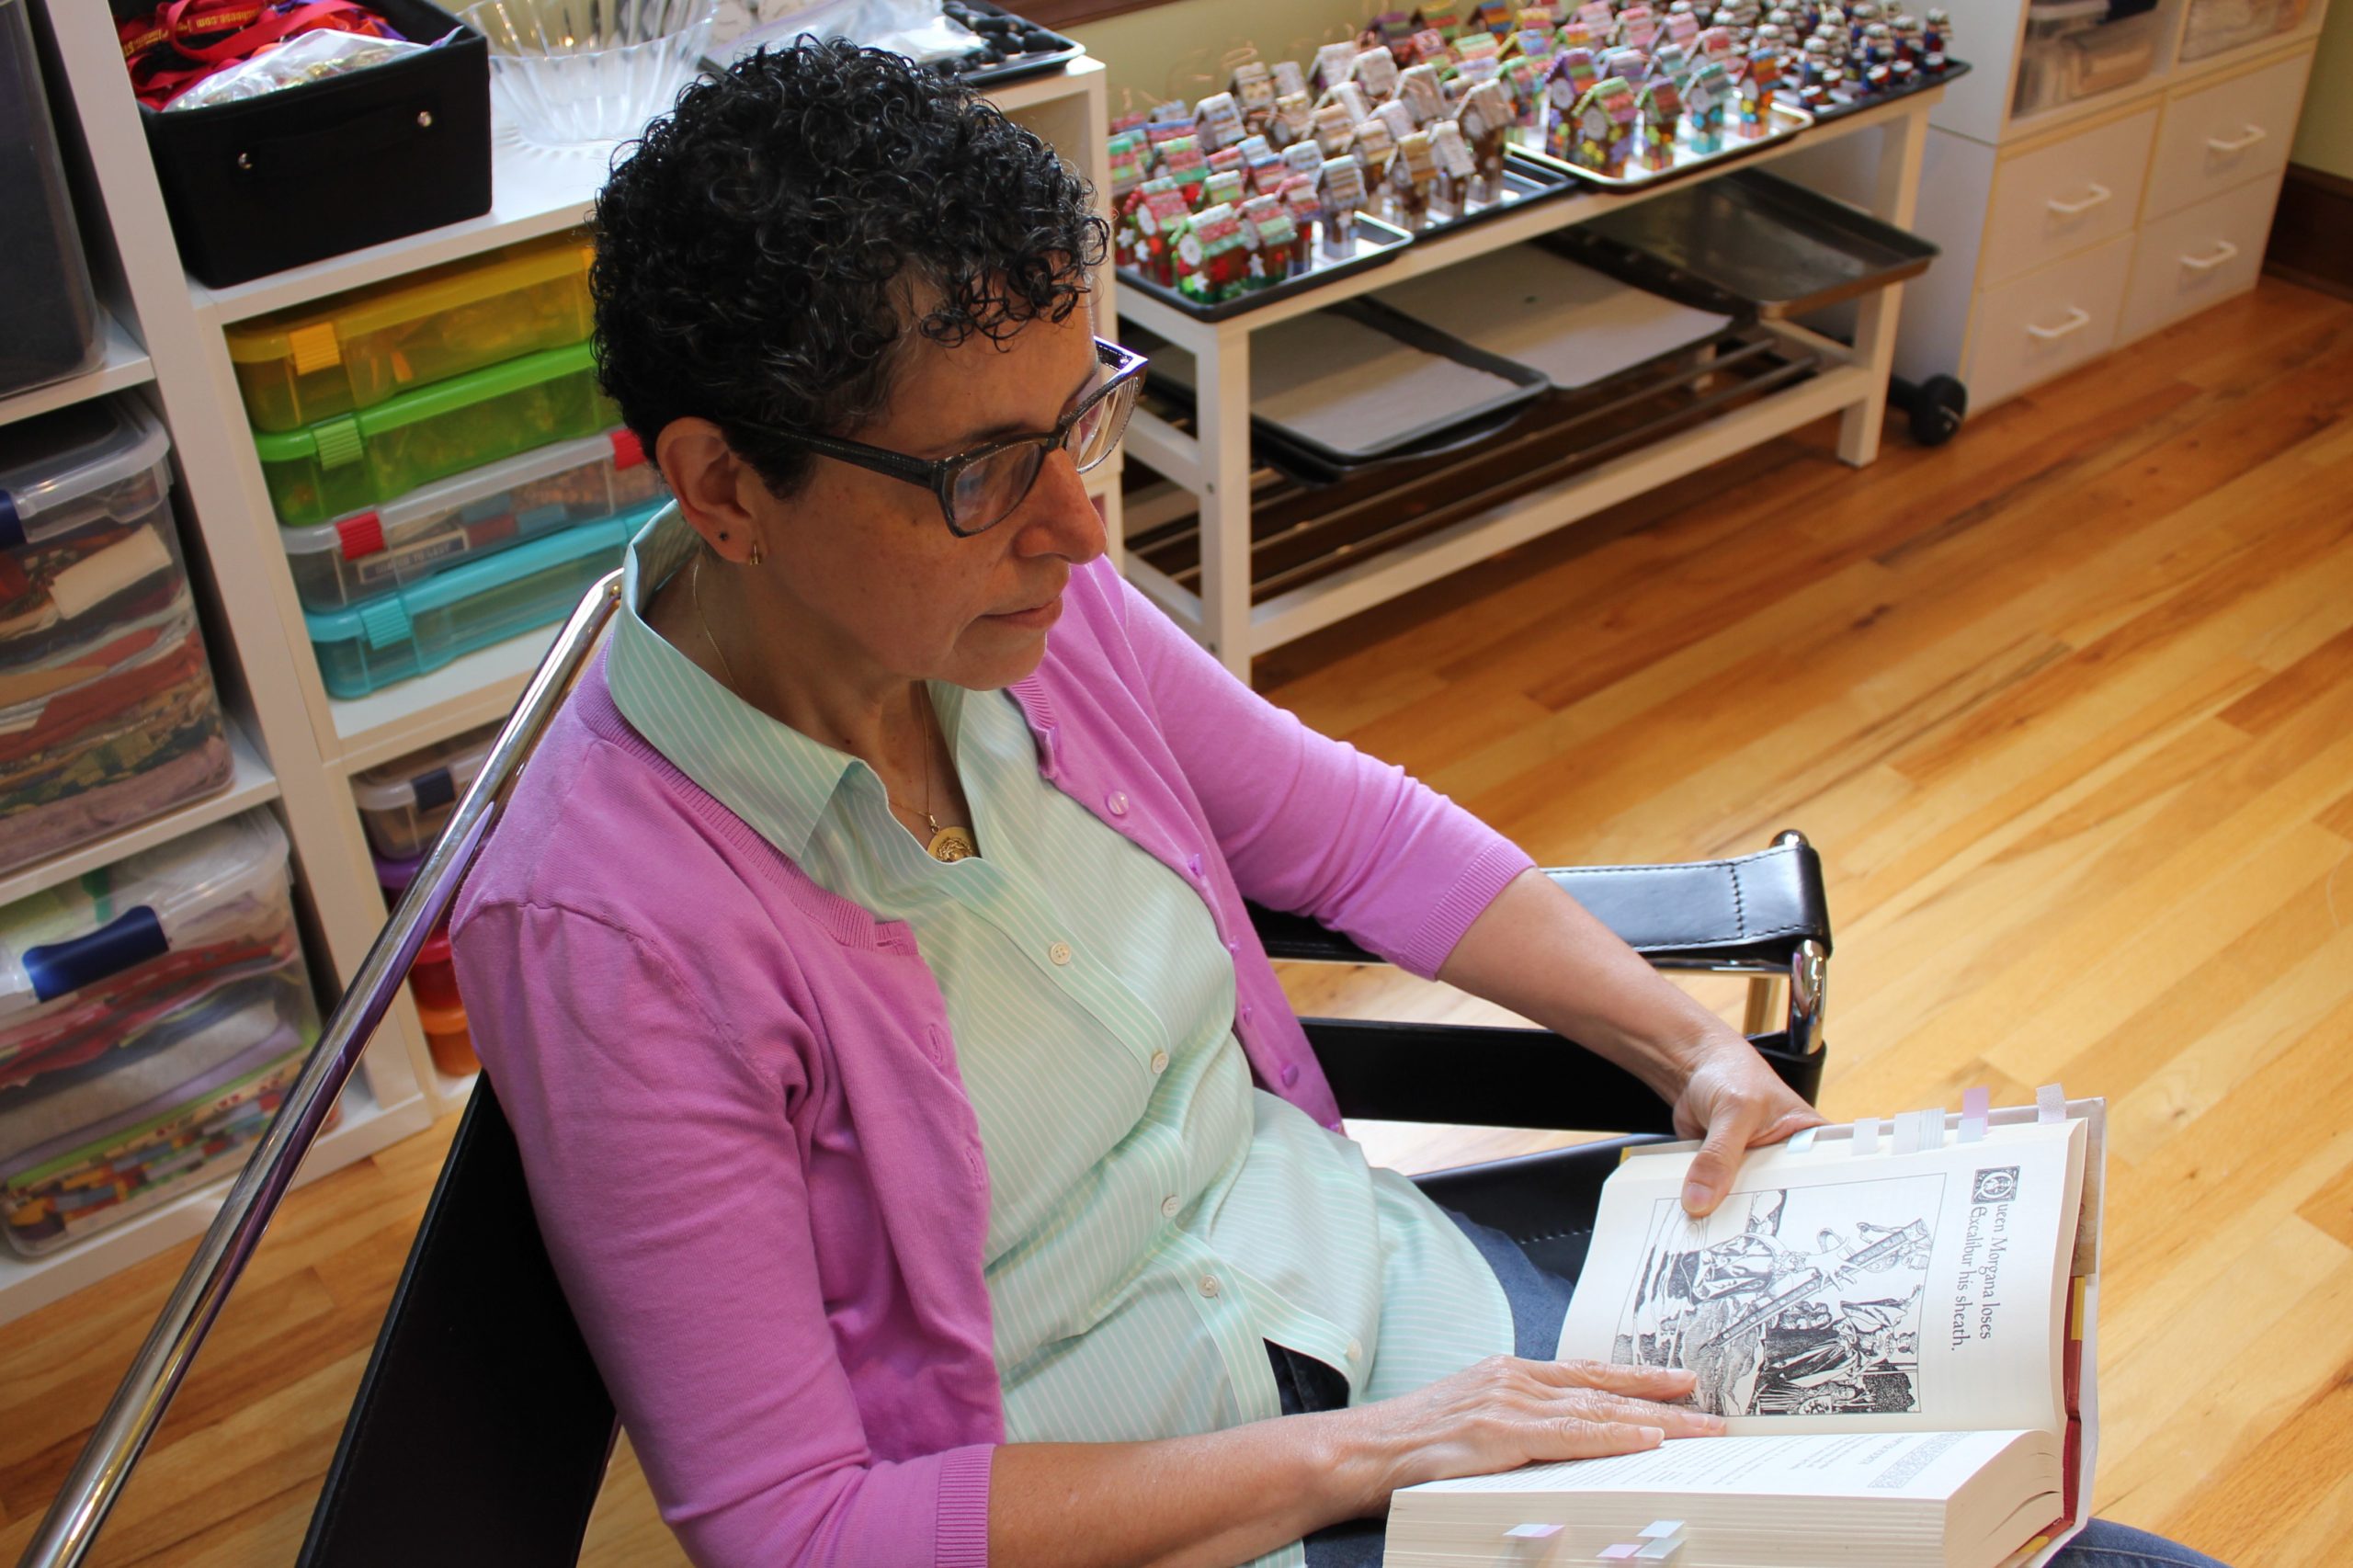
Prior to creating an ornament or an ornament collection, I thoroughly research the topic or character. I focus on my favorite childhood books for inspiration. I verify that my subject or character is public domain, as I do not create any ornaments based on copyrighted material. Research may take me several months since I start with rereading the book and selecting my favorite characters to bring to life. I make notes on the margins of pages and mark the pages that describe the characters in detail. As I’m conducting my research, the characters start coming to life in my imagination. At this point, I have a good idea of what the character might look like, and its personality. Each character gets a page in my sketchbook, where I draw some initial sketches, describe the details, recognizable characteristics, color palette and materials.
CREATING THE PROTOTYPE
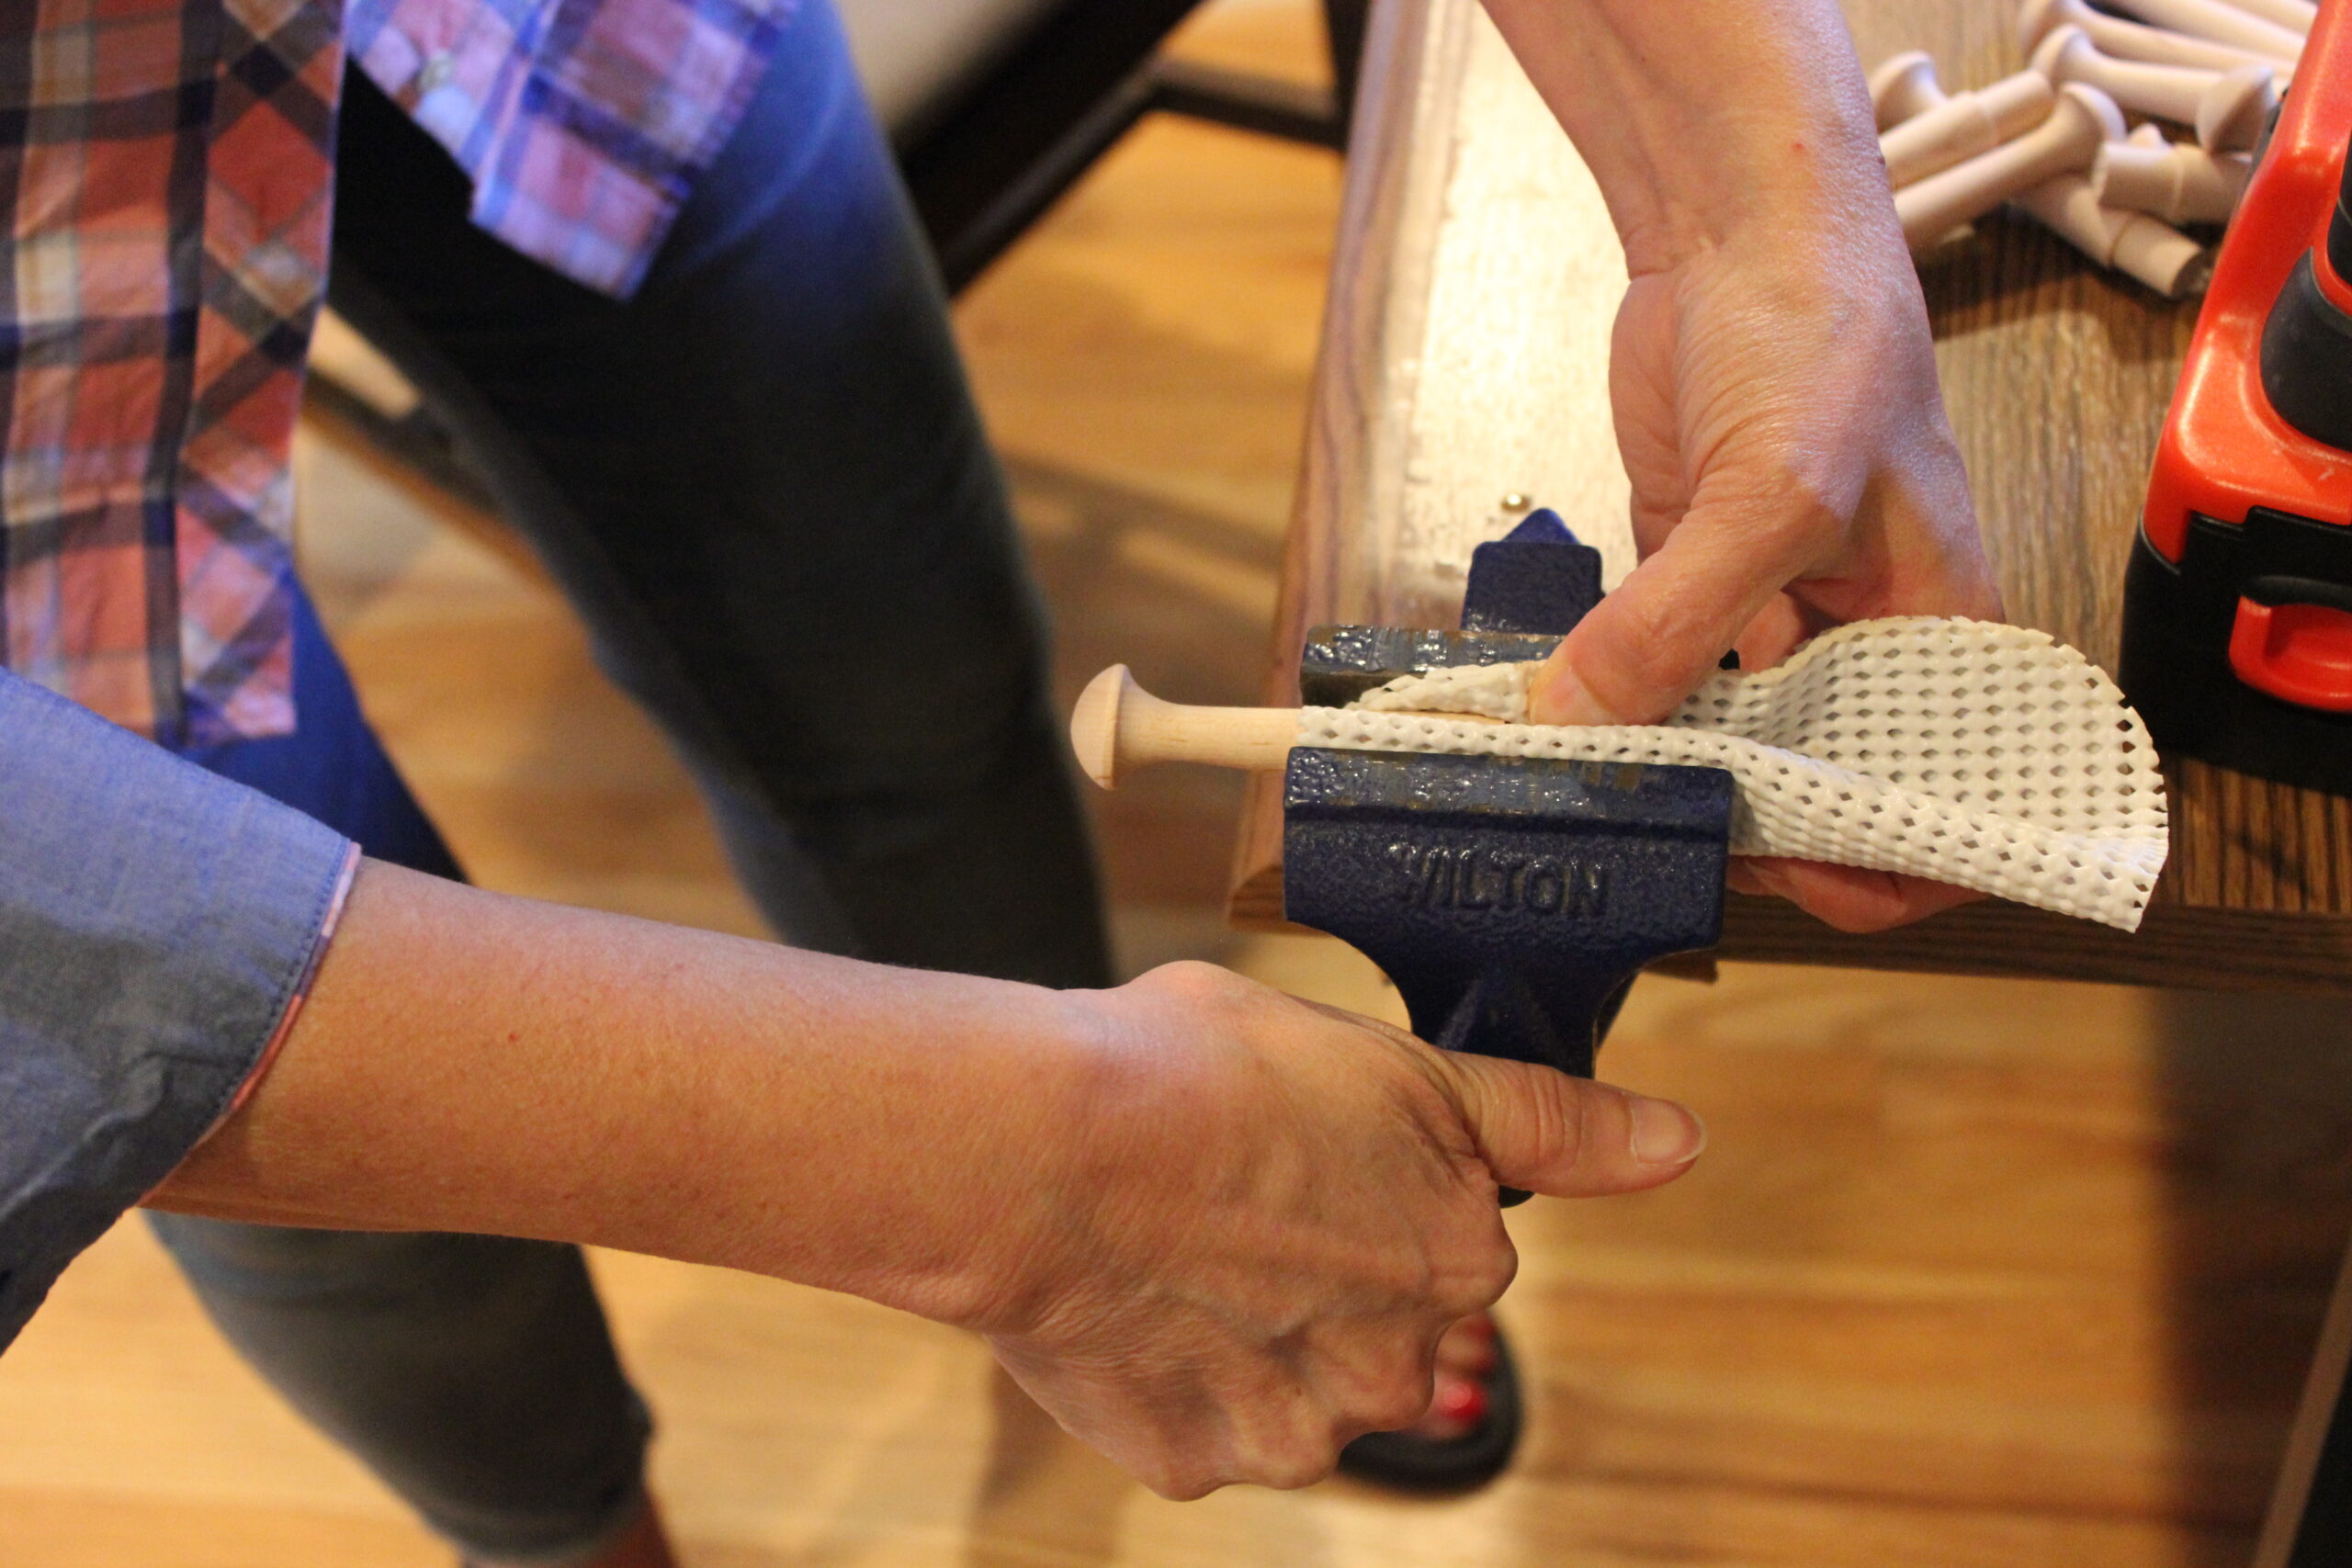
The next step is to create a prototype of the piece. The prototype is to design the pattern and the assembly process. Given the materials I have selected, and the ornament’s unique design, not all pieces are assembled the same way. So designing the assembly process is as important as designing the ornament itself! During prototyping, I test different glues, determining which elements can be glued and which ones must be sewn to ensure an ornament’s long life. Likewise, I check to see that I can achieve my envisioned end-product with my initial fabric choices. Sometimes, the fabric choices force me to explore new techniques to stiffen the materials, or perhaps the type of final finish I need to apply to achieve my vision.
ENGINEERING THE PROCESS
Given my engineering background, I document in detail each step of the assembly process, so I can reproduce it and I constantly experiment with new processes and materials. I proceed to test-build the ornament to iron out any production kinks. Once the process is solid and the garment patterns finalized, I proceed to create the ornaments in an “assembly line” fashion. Even though I create the ornaments this way, every single ornament is different, since no face and fabric details are the same, even though color palettes may be similar.
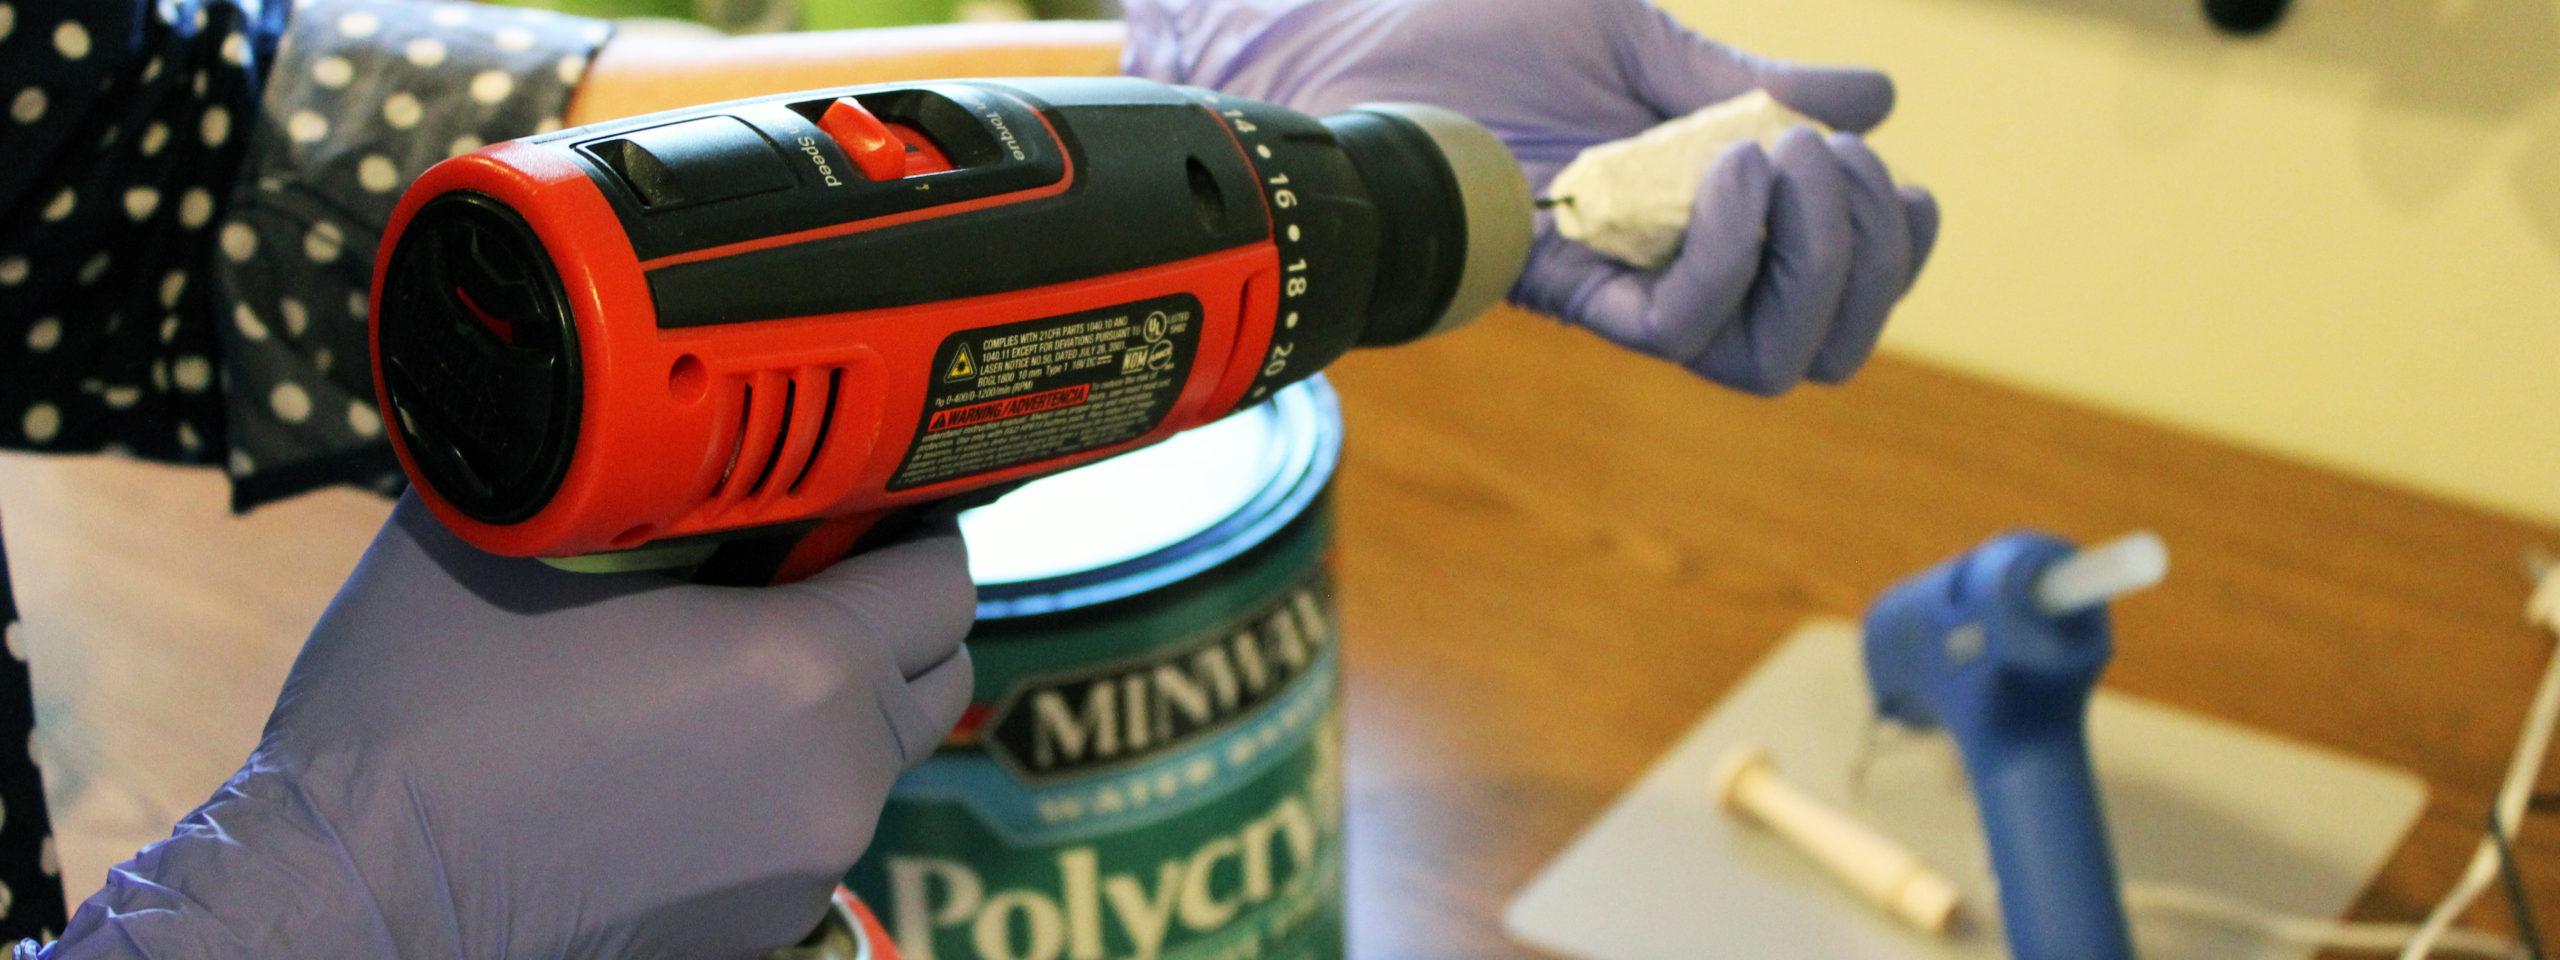
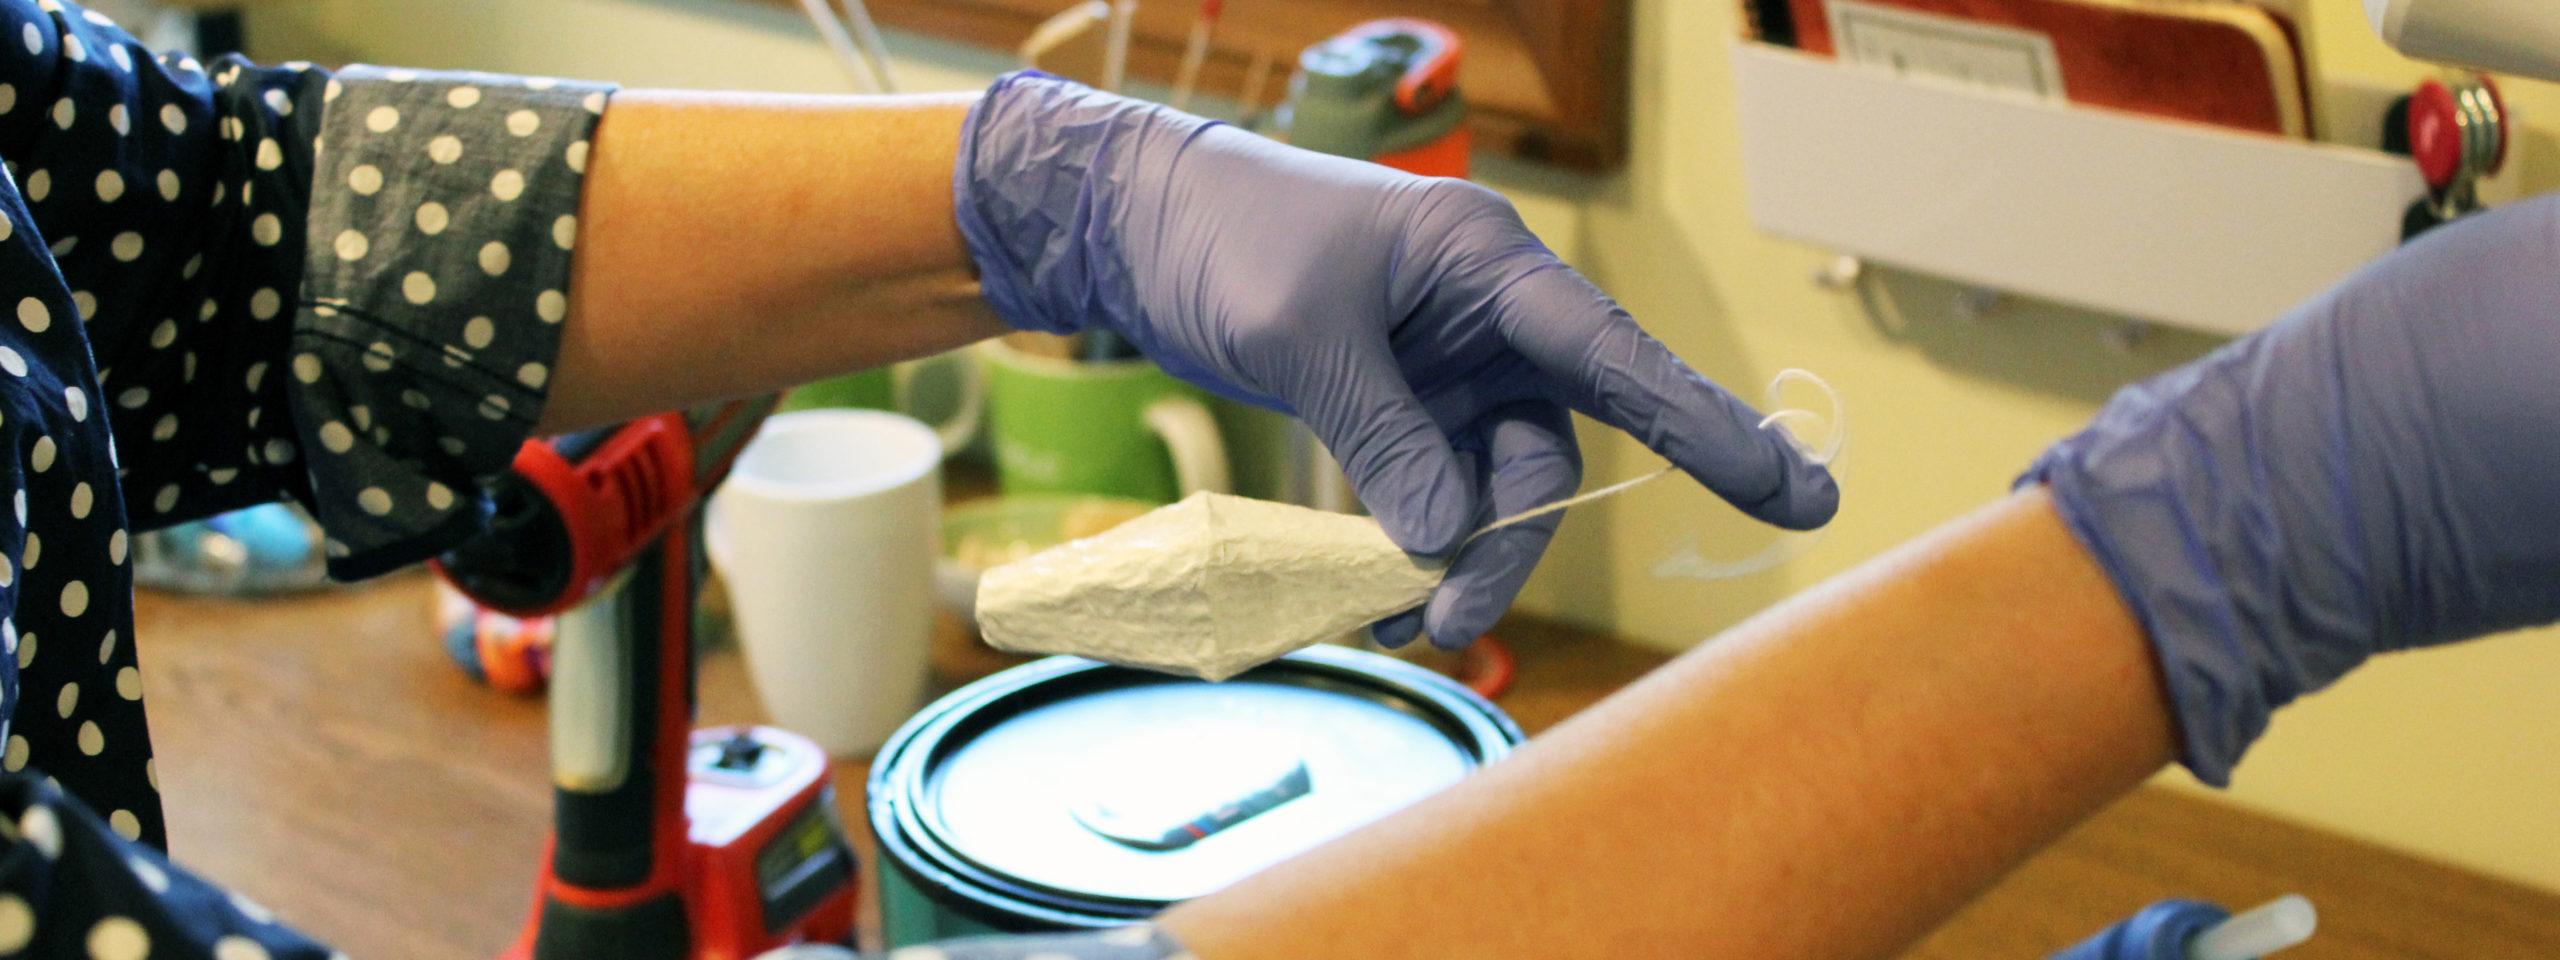
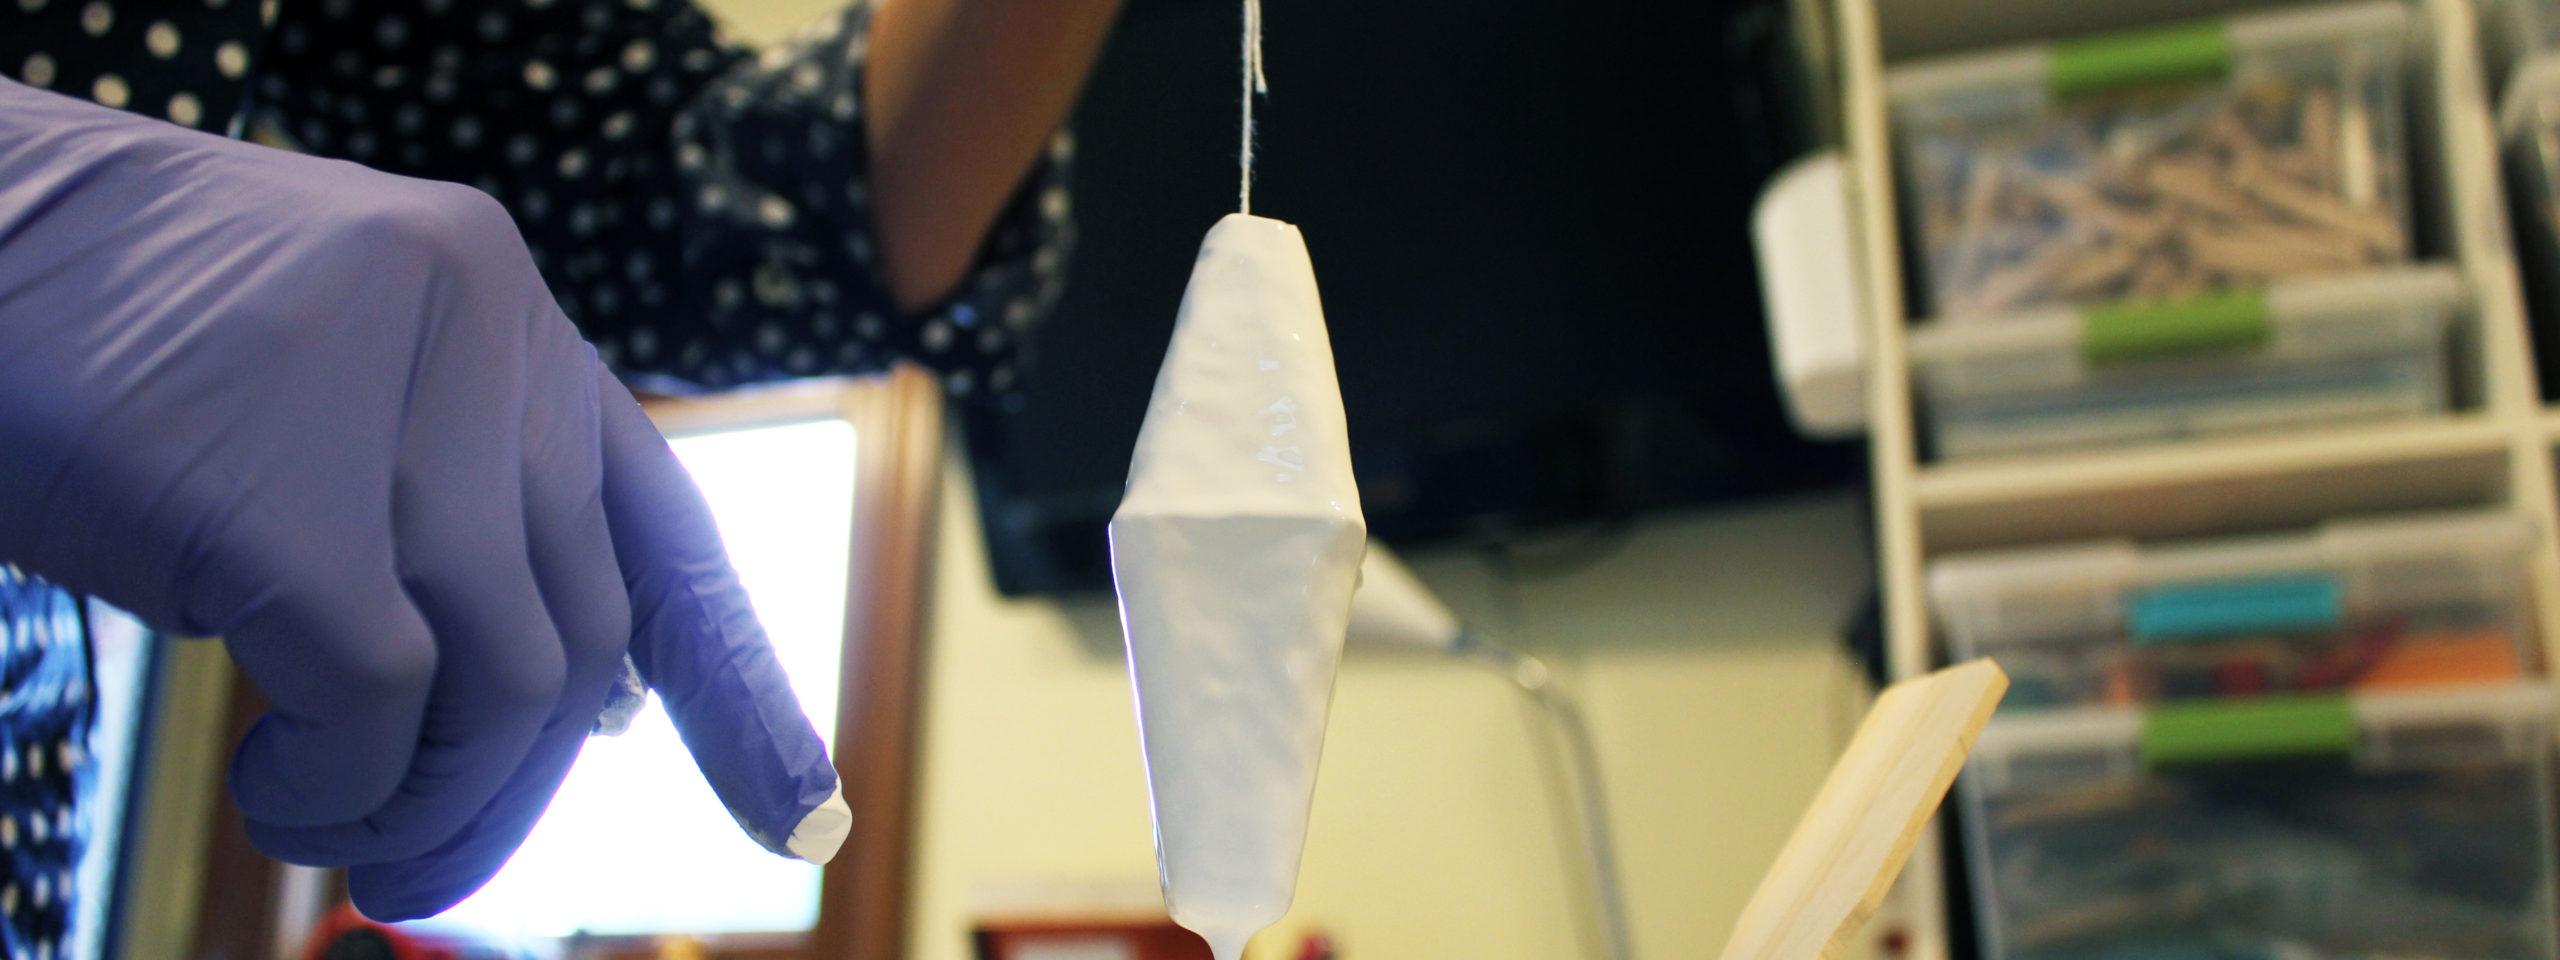
STANDARD STEPS:
Although the assembly process for each ornament is different, all processes share similar steps:
- The ornament base is primed and painted with acrylic paint as needed.
- The faces are hand-painted, and the ornaments are set to dry for at least 24 hours.
- Fusible interfacing is ironed onto the materials before cutting out the capes and jackets. Skirts are sewn using the sewing machine. Any adornments are either embroidered or sewn by hand. The outfits are then glued to the body.
- The skirts, capes, and jackets are stiffen as needed. When the outfits are made from cotton material, a fabric stiffener coat is applied by hand on both sides of the material to achieve a rigid feel. When velvet or silk are used on one side of the outfit, the stiffener is only applied to the cotton side of the garment to still achieve the level of stiffness needed while preserving the luscious softness of the material. The piece is then set to dry for about 24 hours.
- The whole piece is hand-coated (excluding areas with materials such as velvet and satin) with decoupage finish. This finish adds another layer of stiffness and ensures that nothing will come unglued. A 24-hour drying period is required.
- An acrylic semi-gloss finish is then applied to the piece, followed by another 24-hour drying period.
- Subsequently, the hair is affixed. The hair is mostly made from yarn, thread or old wigs. When using a wig, the wig is first disassembled using a seam ripper to separate the small bunches of hair which are then cut to size and glued onto the ornament. When using yarn, the yarn is looped on a piece of cardboard of the right length and then the strands are sewn together by hand making a miniature wig which is then glued onto the ornament. A glue gun is usually used for this step.
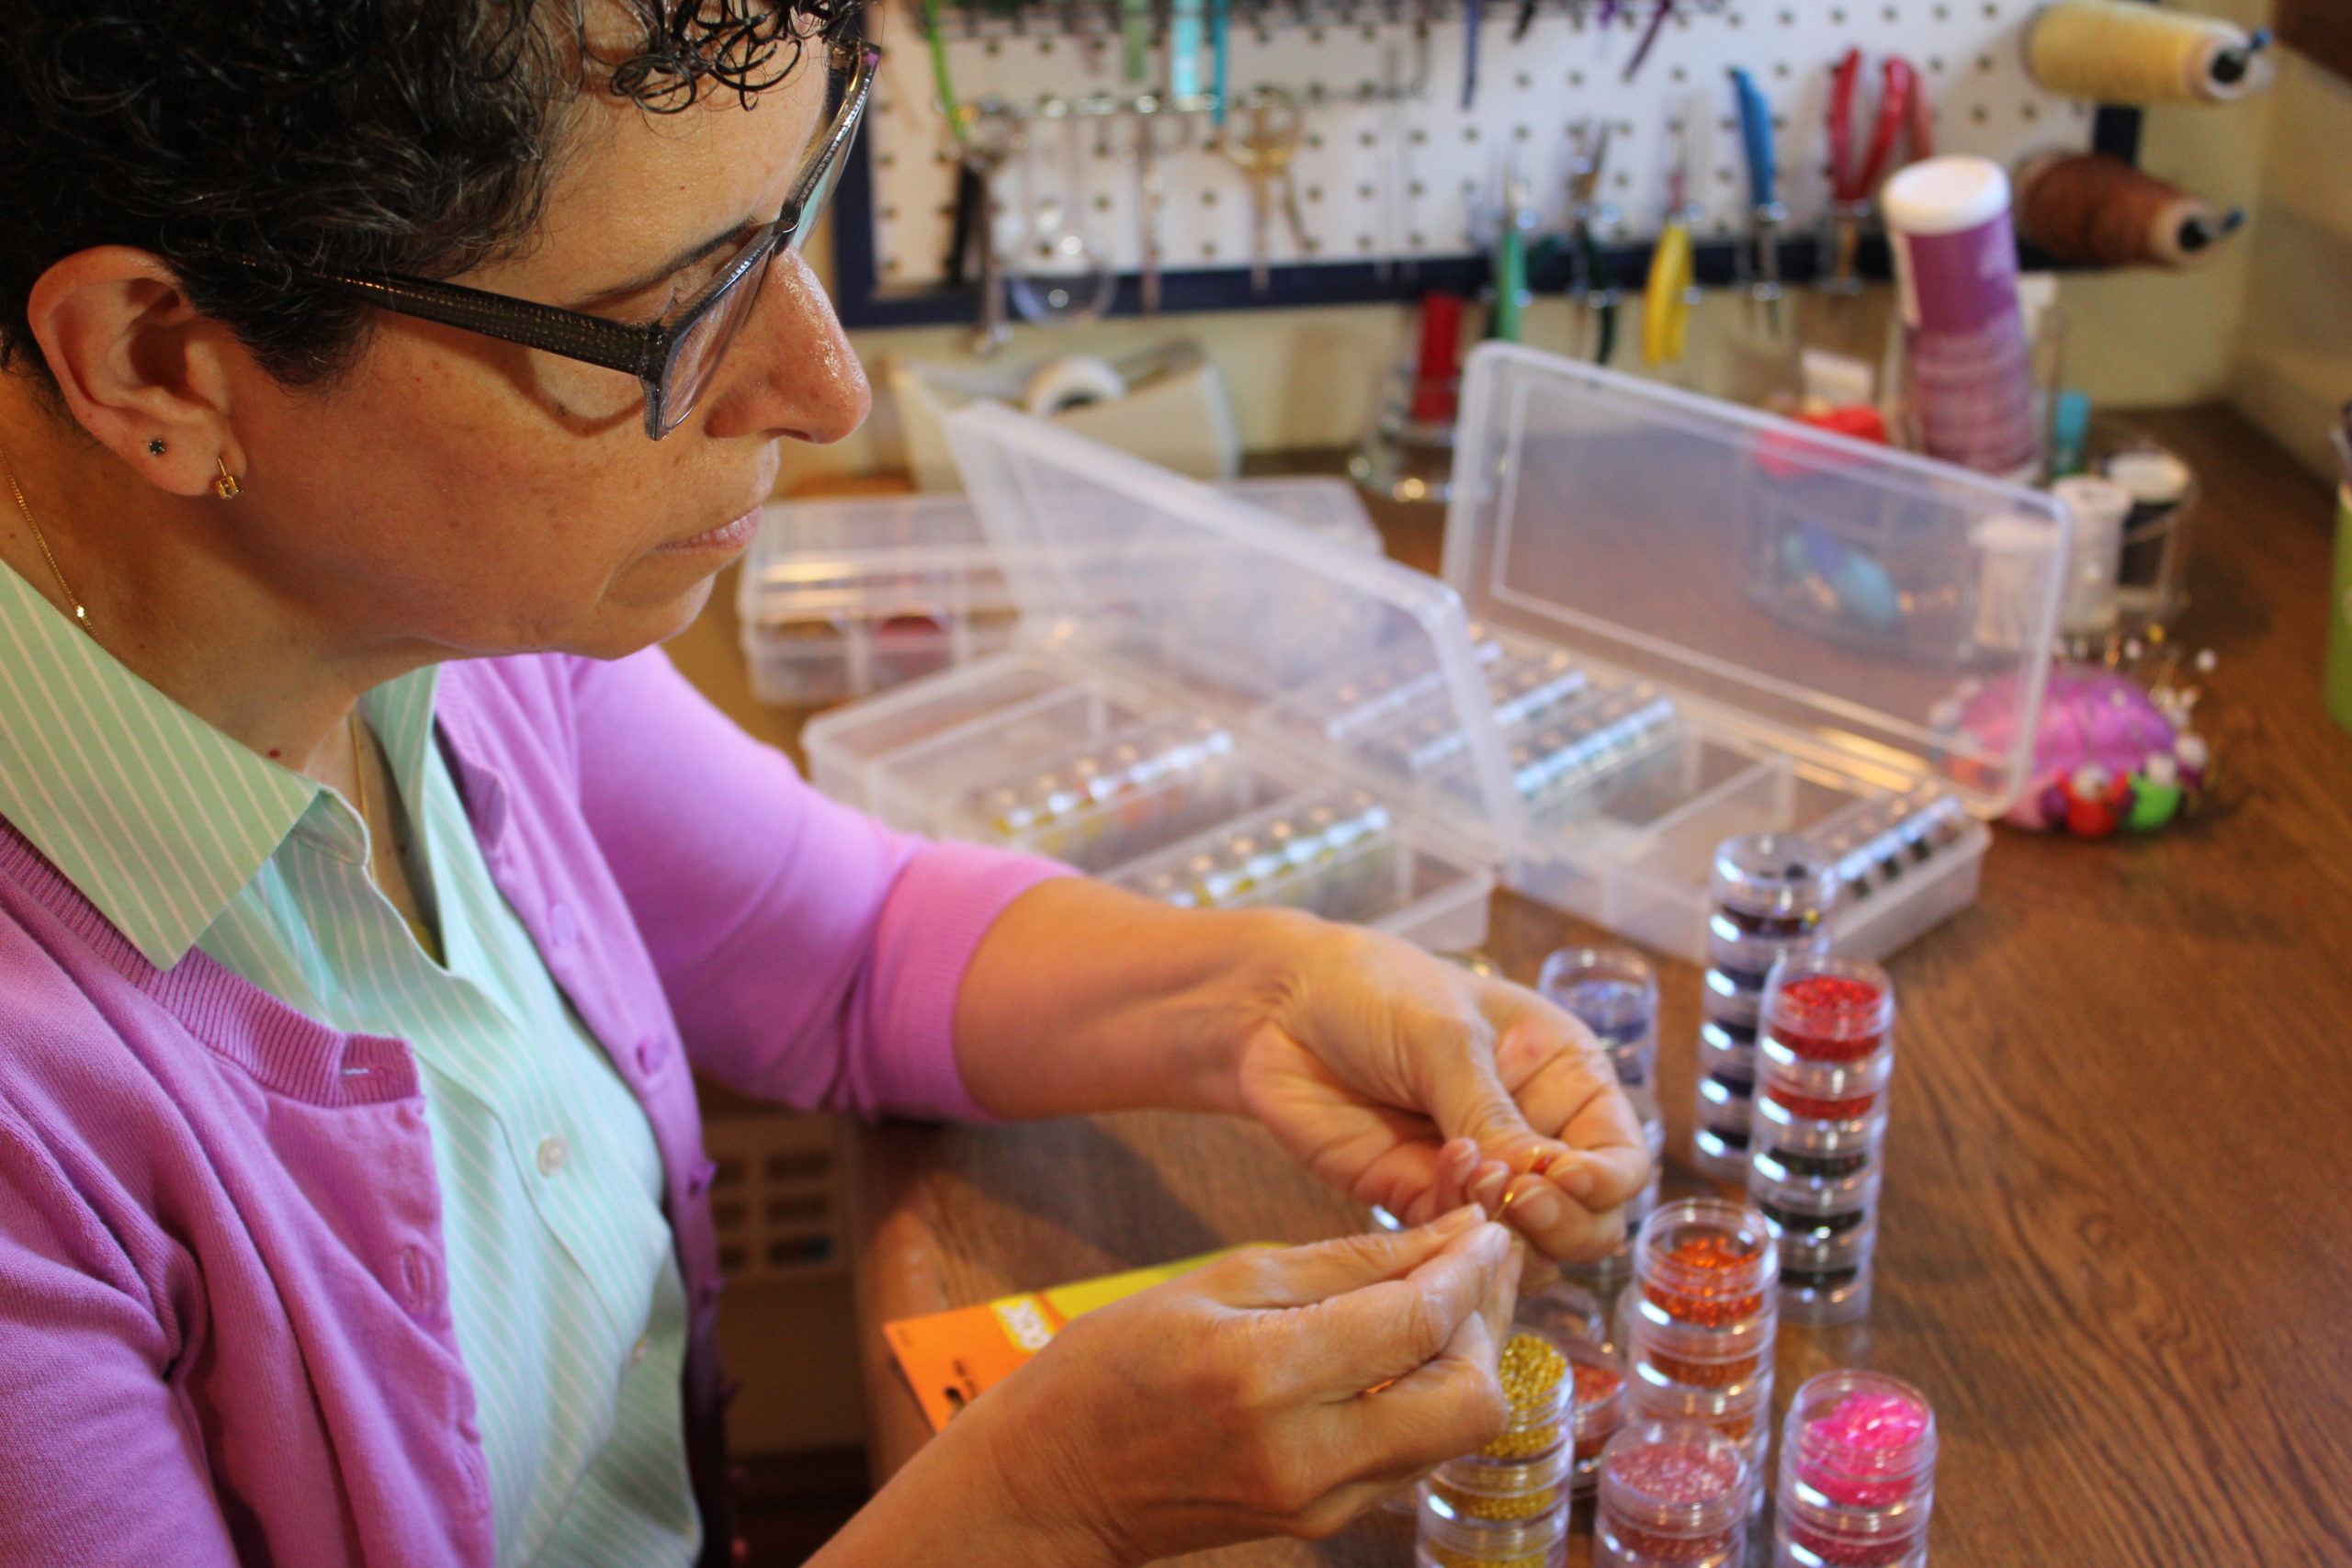
- Any adornments are glued on at this step. Based on the type of item, a variety of glues can be used: Aleene’s Fabric Fusion, Aleene’s Glass and Bead adhesive, E-6000 glue, Loctite Crazy Glue Gel, Aleene’s Fast Grab Tacky glue, Loctite Epoxy glue, Elmer’s Contact Cement, Elmer’s white glue, Gorilla glue, etc.
- The ornament holder loop, in most cases, is affixed at the end of the process, although there are always the exceptions when the loop needs to be added mid-process.
- The final step is to glue the ornament to its base. The bases are spray painted. All sorts of objects are used as bases: pogs, puzzle pieces, memory game tiles, coasters, etc.

